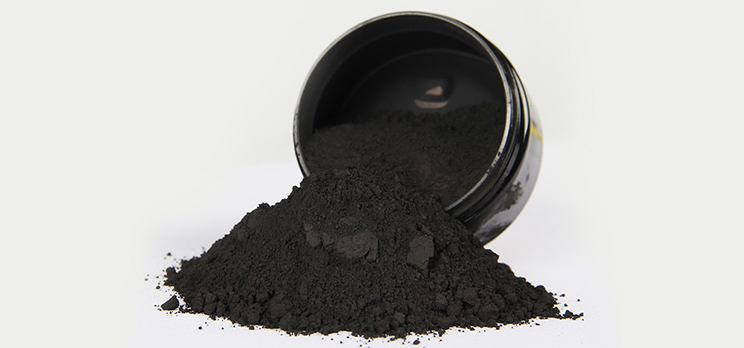
Knowing how to make shelf-stable coconut charcoal and coconut shell charcoal briquette products is essential if you want long-lasting, high-quality fuel for cooking, grilling, or even for industrial or commercial use. Coconut shell charcoal has become a favored eco-friendly substitute for traditional wood charcoal, offering high heat efficiency, low smoke production, and a renewable source of energy.
However, for coconut charcoal to remain effective and usable for months or even years, it must be properly produced, dried, and stored. Without the right processing steps, charcoal can absorb moisture, degrade in quality, or even pose fire risks during storage.
How To Make Shelf-stable Coconut Charcoal
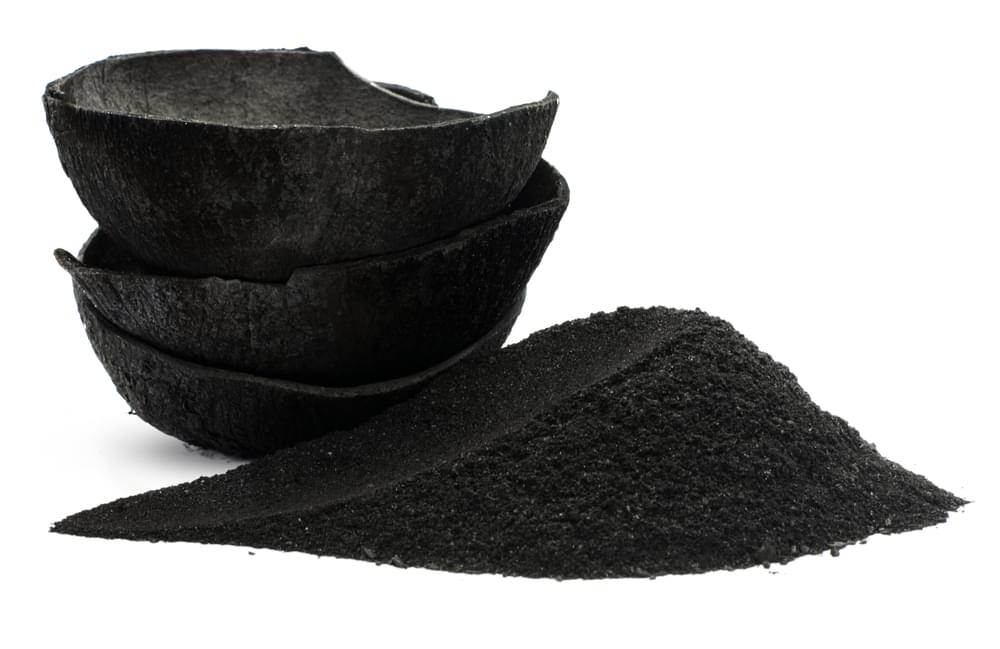
Many small-scale and commercial producers often focus only on the carbonization stage and overlook the importance of post-processing, especially drying and storage.In this guide, we’ll walk through the complete process—from turning coconut shells into charcoal to properly storing the final product—so you can create a more durable, long-lasting product whether for home use or business.
1. Carbonization Process
Start with clean, dry coconut shells. The shells should be free from dirt, moisture, and residual coconut meat. The best way to carbonize them is by using a closed or semi-closed container, such as a metal drum with a few small air holes for limited oxygen entry. This process is called pyrolysis, where the shells are heated without enough oxygen to fully combust. The limited oxygen ensures the shells convert into charcoal rather than turning into ash.
Maintain consistent heat throughout the carbonization process. Ideal temperatures range between 400–500°C (752–932°F). You can monitor the smoke and flame to judge whether the temperature is too high or too low. Typically, the process takes between 2 to 5 hours depending on the volume and method used. Once the shells are carbonized, they should appear black, lightweight, and brittle, not gray or white like ash.
2. Cooling the Charcoal
Once the burning process is finished, let the charcoal cool within the closed container. This step is crucial because hot charcoal exposed to oxygen can easily catch fire, turning your finished product into ash. Keep the container sealed for several hours or even overnight to ensure the temperature drops gradually. If you must open it sooner, do so with caution and ensure there’s minimal air exposure.
3. Drying the Charcoal
Even if the charcoal appears dry after cooling, it often still contains some internal moisture. This trapped moisture can lead to mold or reduce burn efficiency during storage. Spread the charcoal out in a single layer under direct sunlight for at least one to two days, depending on the weather. Make sure it’s placed on a clean, dry surface, preferably on a tarp or drying rack.
You can also use a drying oven or solar dryer for a more controlled drying environment, especially during the rainy season or in humid climates. The goal is to reduce the moisture content of the charcoal to below 10%, which ensures a longer shelf life and better performance.
4. Proper Storage
After the charcoal has fully dried, proper storage is essential to maintain its shelf life. Keep it in airtight containers, thick plastic bags, or vacuum-sealed packaging to protect it from moisture. Store the containers in a cool, dry place away from direct sunlight and far from any heat sources such as stoves, fire pits, or machinery.
If you’re producing coconut shell charcoal briquettes, apply the same principles. After forming and pressing the briquettes, dry them thoroughly and store them in moisture-proof packaging. Briquettes are especially sensitive to moisture and can fall apart or become less efficient if improperly stored.